This walkthrough demonstrates how to create or customize a branded channel for showcasing properties and listings within a workspace. Users navigate to Settings, access Channel settings, and either edit an existing channel or create a new one by completing seven sections including General settings, Homepage design, About, Terms & Conditions, Login Page, Contact information, and How To guides. Once all sections are filled out and saved, the channel provides tenants with a professional, centralized platform to discover properties and engage with the brand.
Total steps: 15
1. Create or Edit Your Branded Channel
Learn how to customize your branded channel to showcase your properties, listings, and company identity.
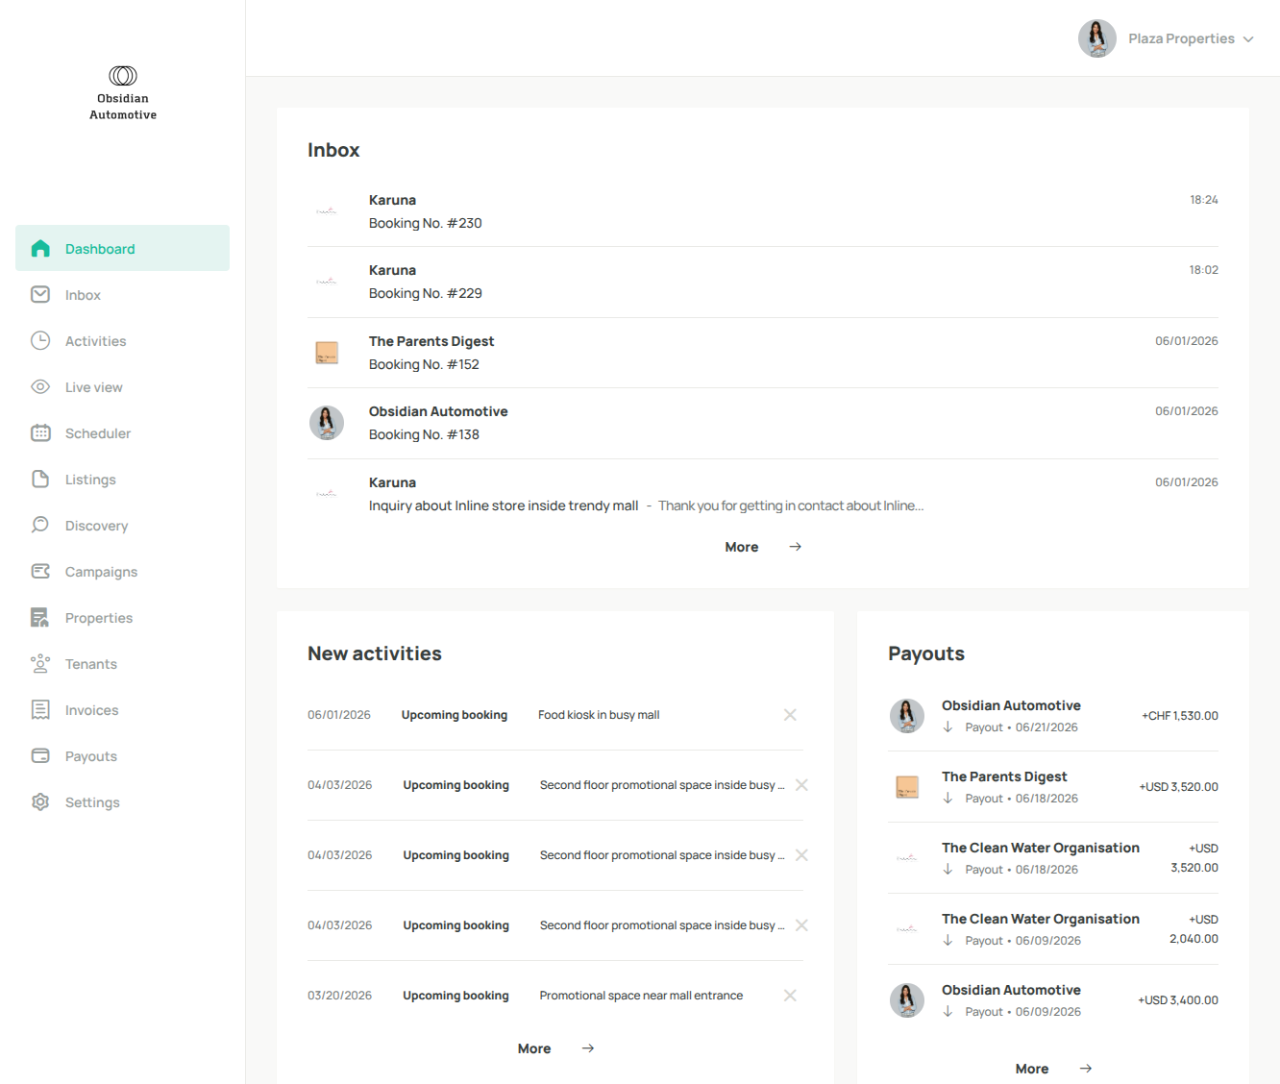
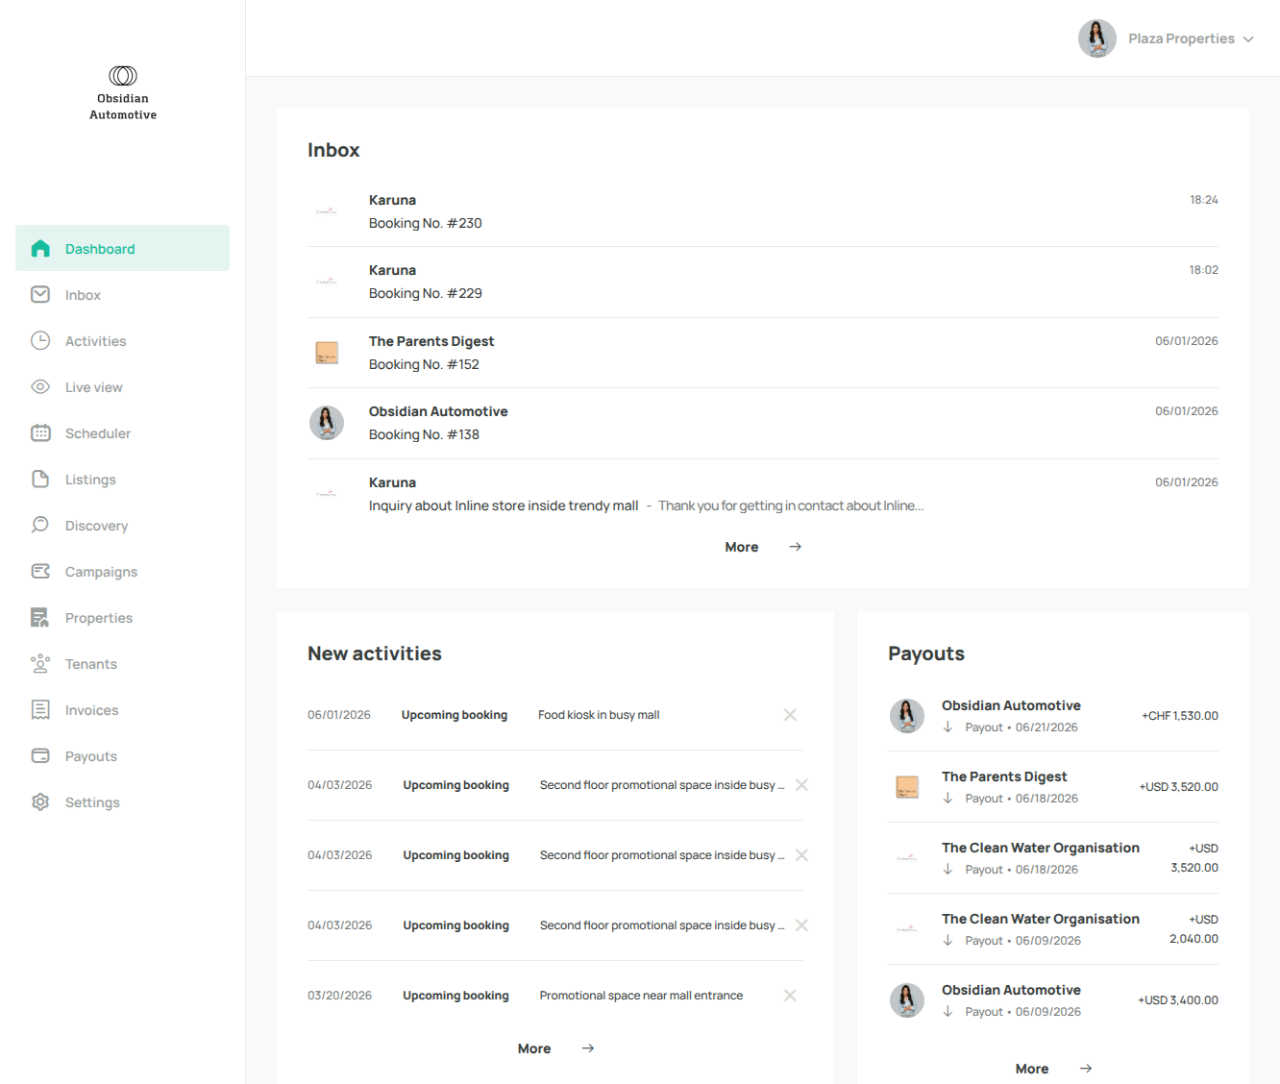
2. Navigate to Settings to access your workspace configuration options
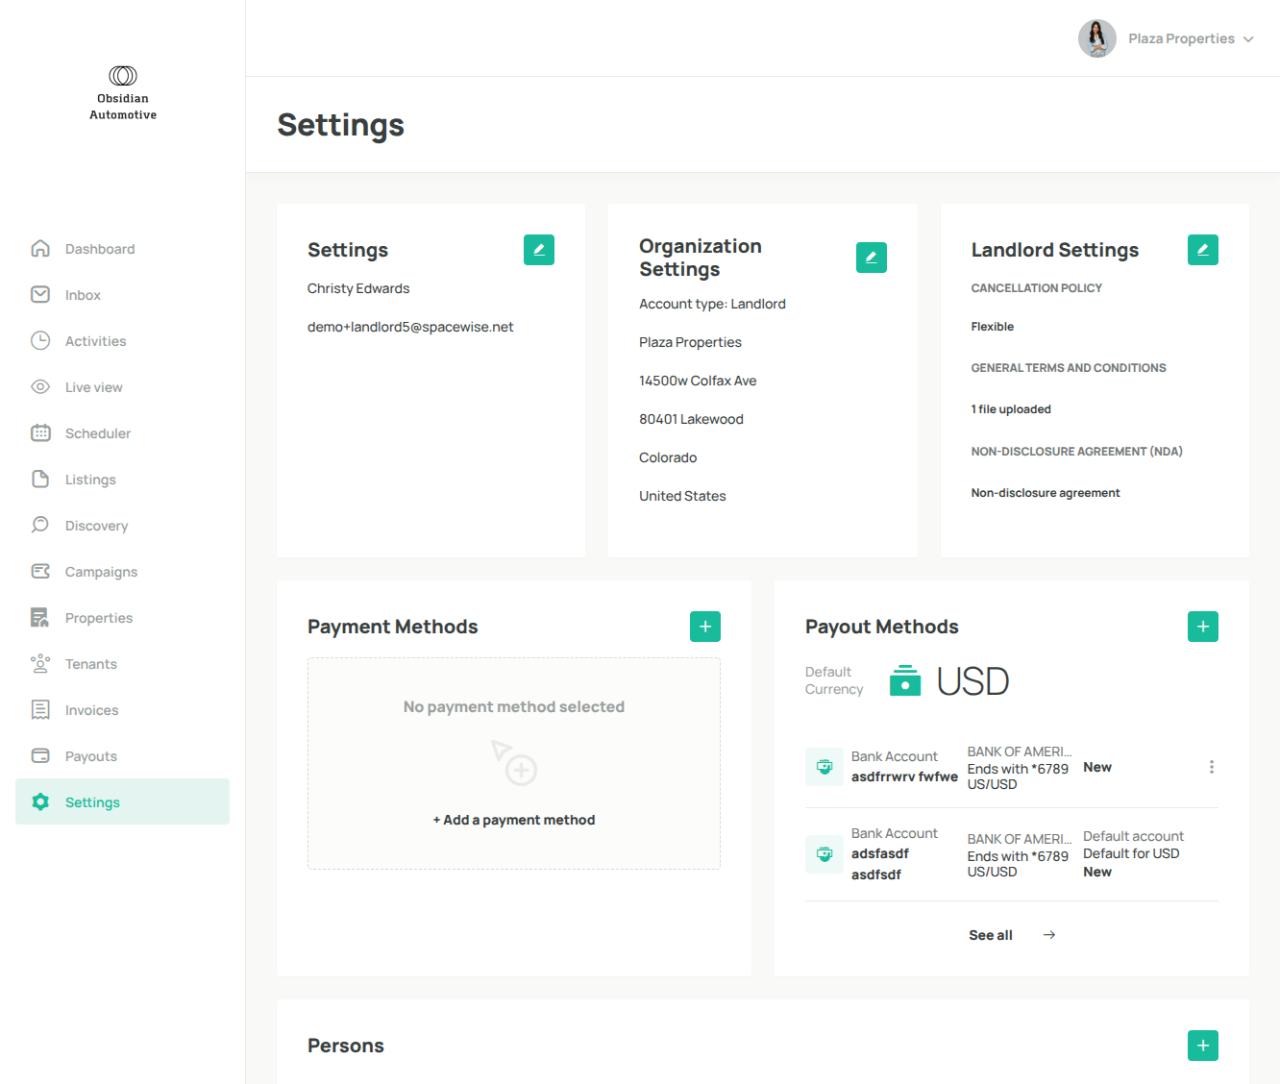
3. Scroll down to the Channel settings section to manage your channels
4. To edit your existing channel, select the pen (edit) button.
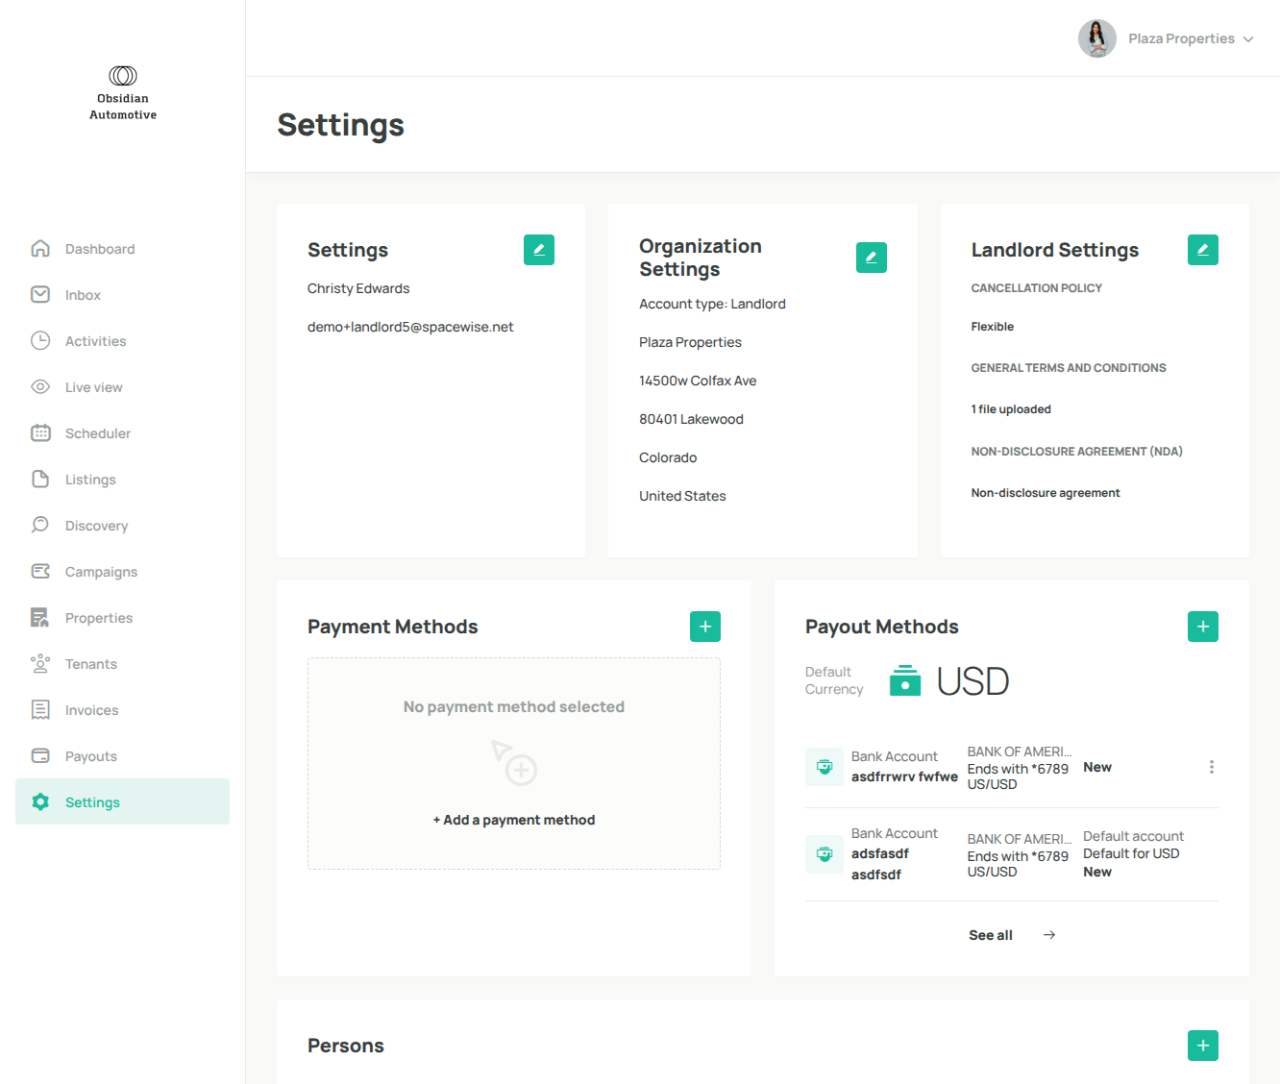
5. To create a new one, click on the + button
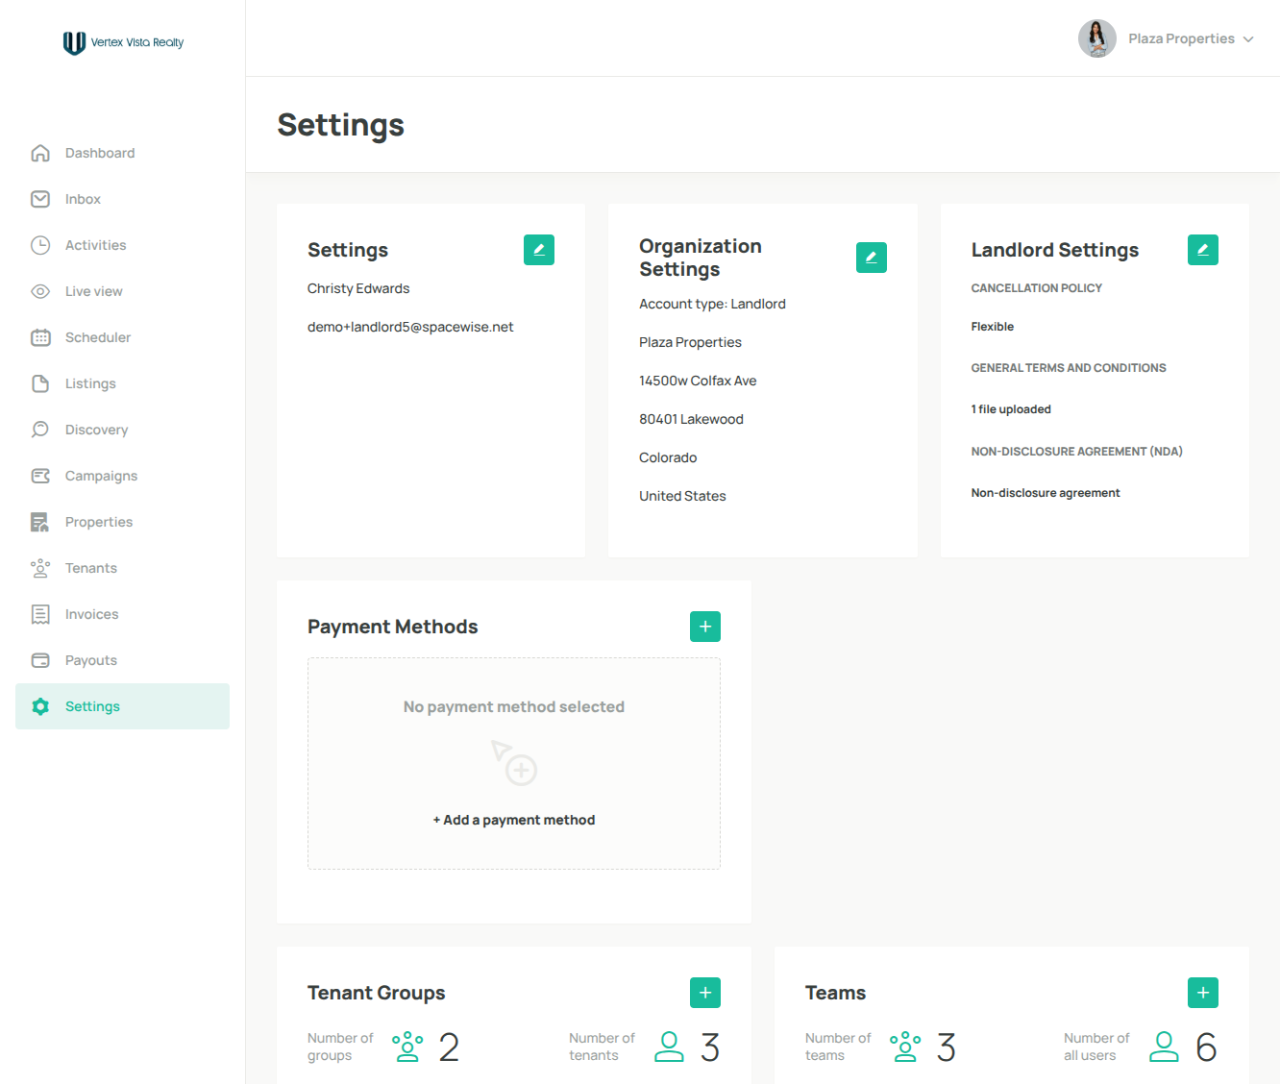
6. When setting up a new channel, there are seven (7) sections to complete.
Fill out each section to build a fully branded channel tailored to your business:
One-time setup
Takes just a few minutes
Prospective tenants get a consistent, professional experience
Manage and showcase listings among different properties from one central platform
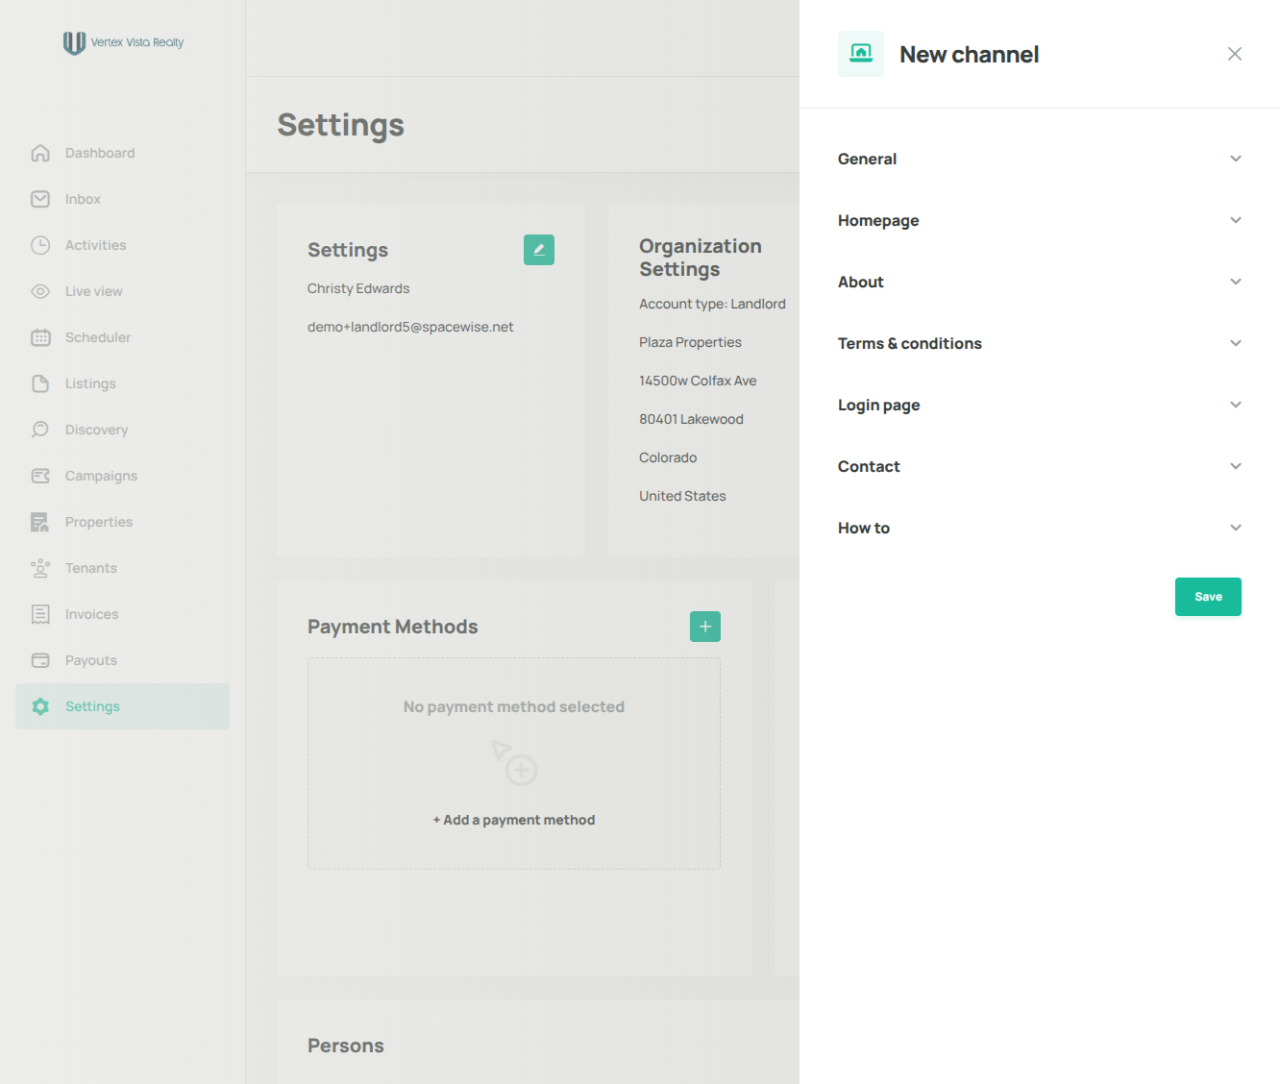
7. The General section contains your channel's core settings:
Branding – logos, colors, and channel name
Visibility – channel URL, language settings, and public-facing details
Communication – sender details for emails and notifications
Discovery – metadata that helps tenants find your channel online
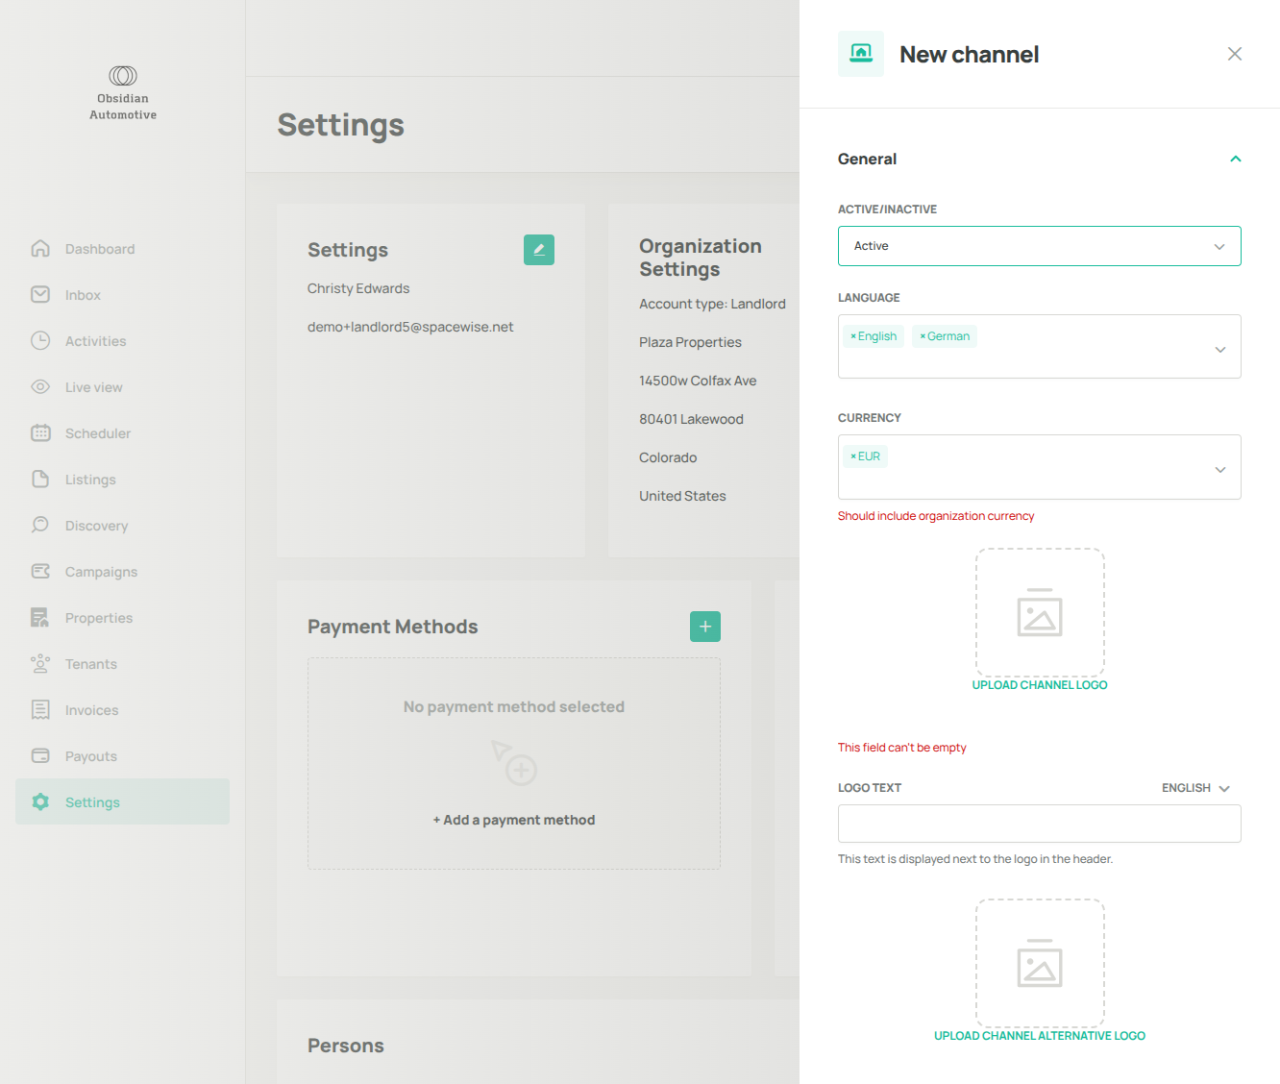
8. The Homepage section lets you customize the first impression tenants see when they visit your channel:
Add homepage images and hero messaging
Configure search and featured content visibility
Showcase key property highlights and promotional content
Create a more engaging experience for prospective tenants
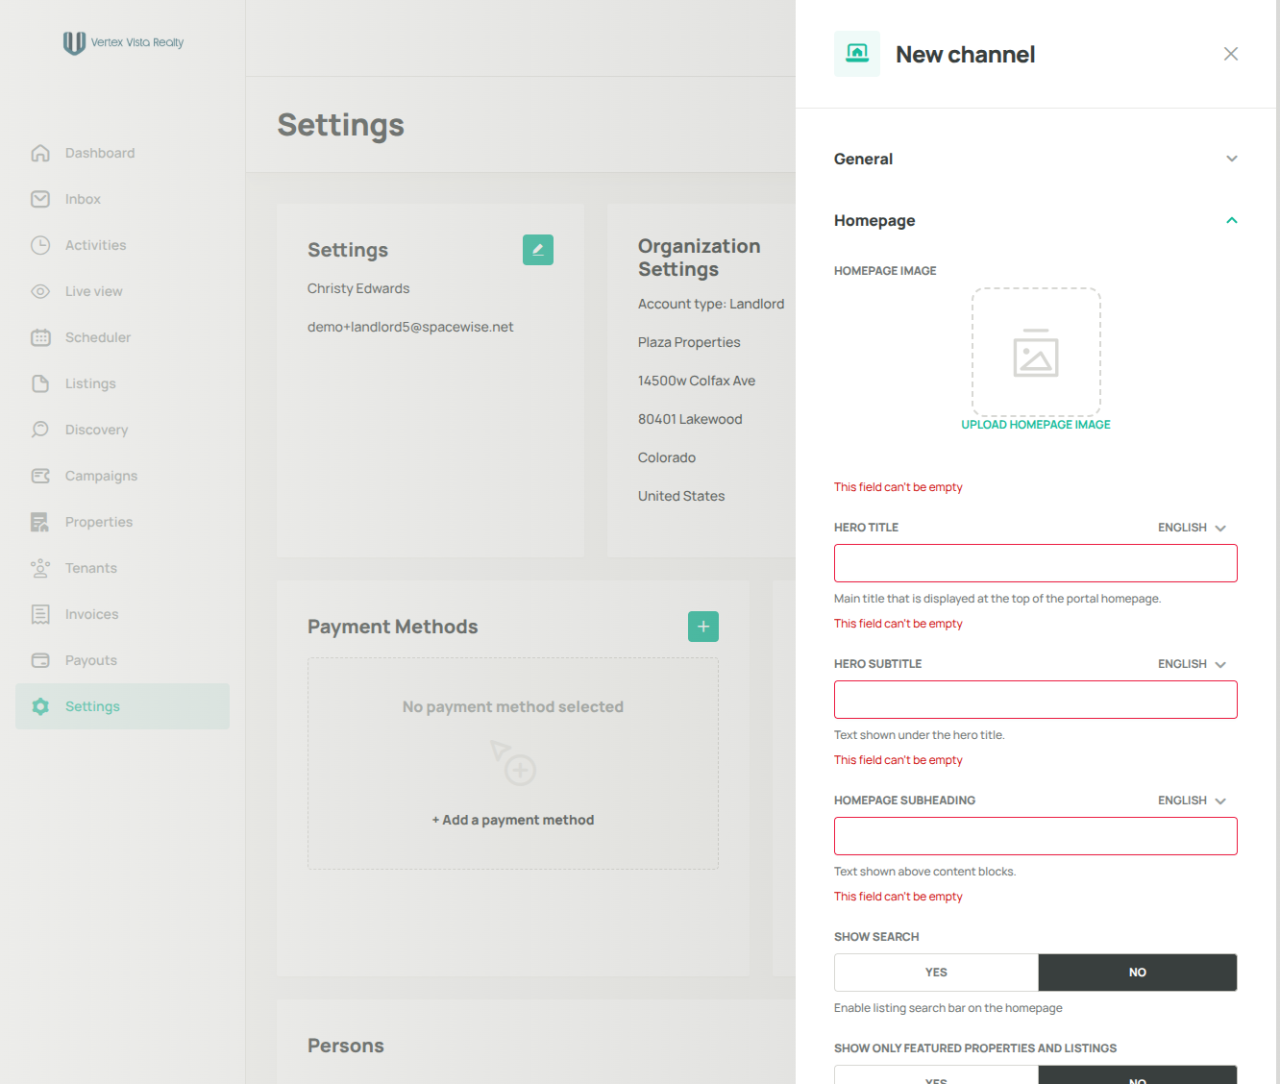
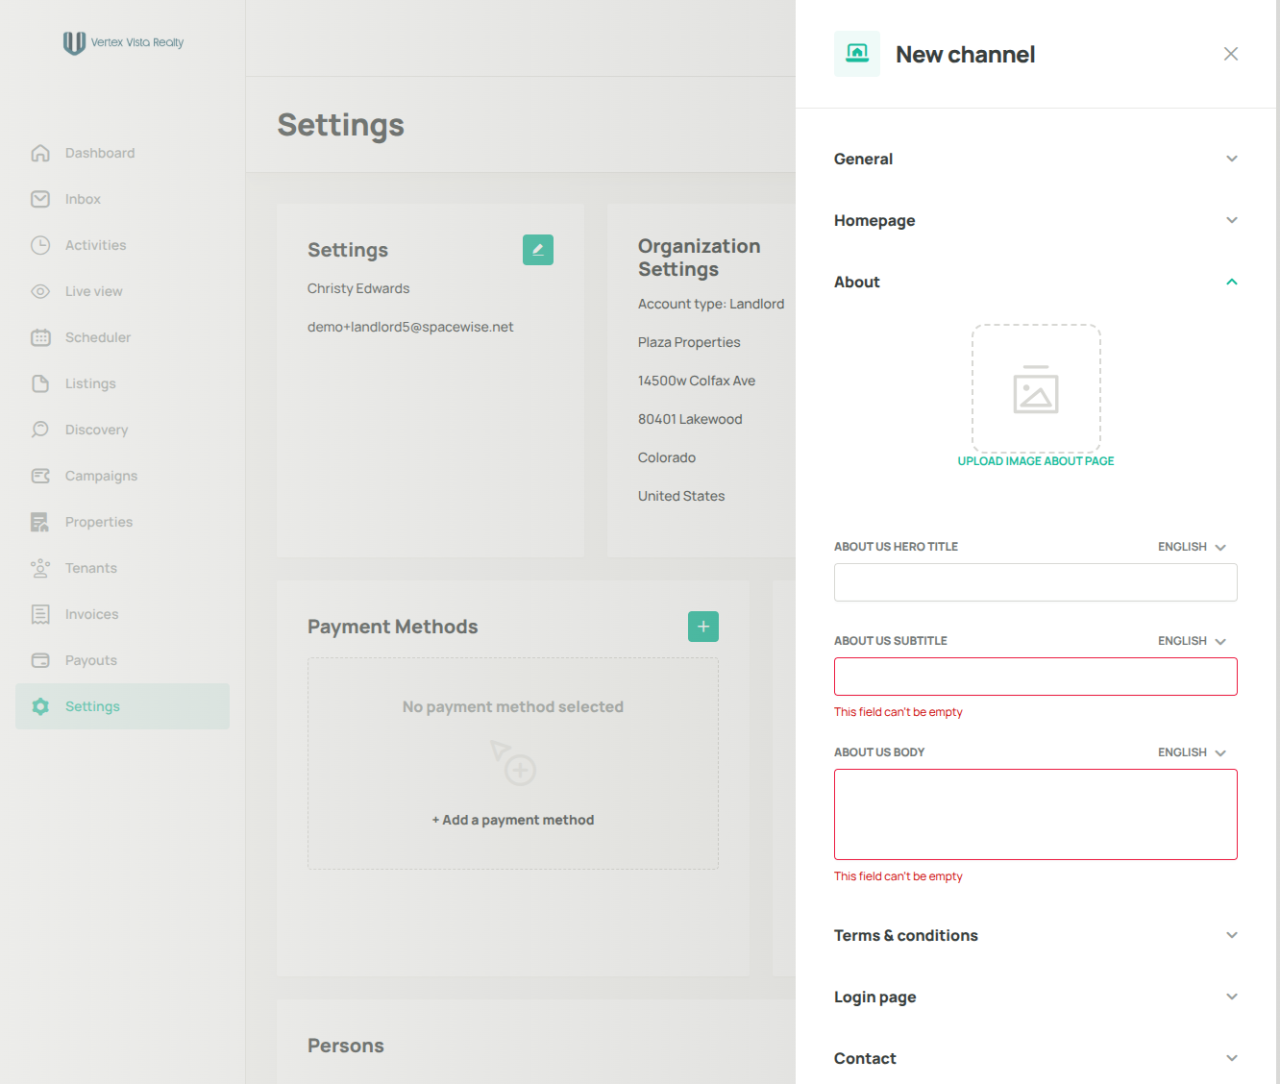
9. The About section is where you tell your brand story.
Add an image, headline, and company description to help prospective tenants understand who you are and what makes your properties and leasing opportunities unique.
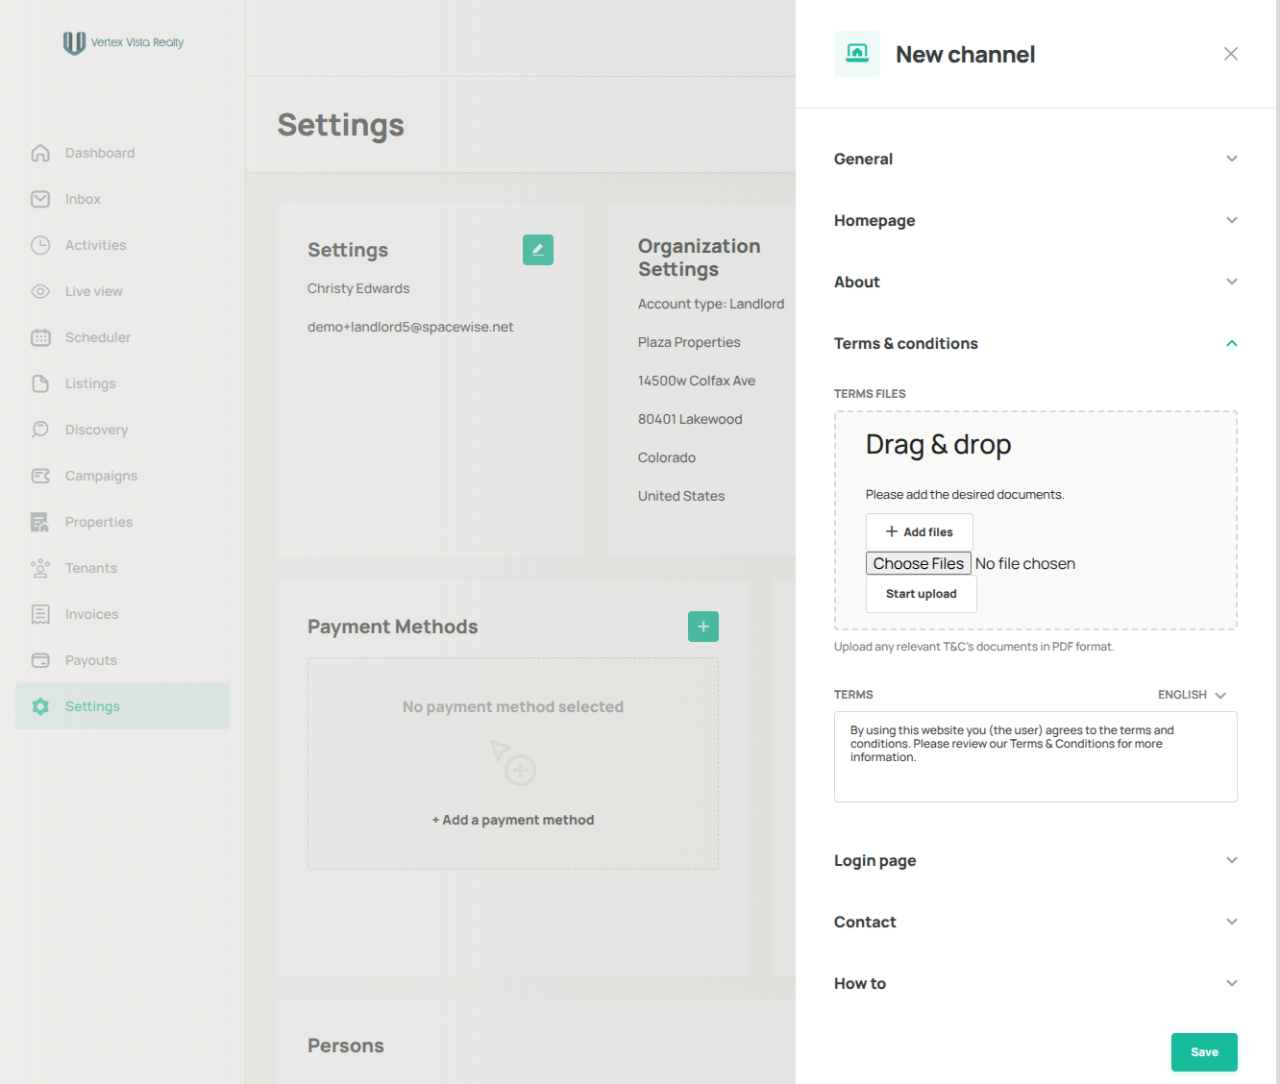
10. Define your Terms & Conditions to set clear expectations for tenants and support a transparent leasing process.
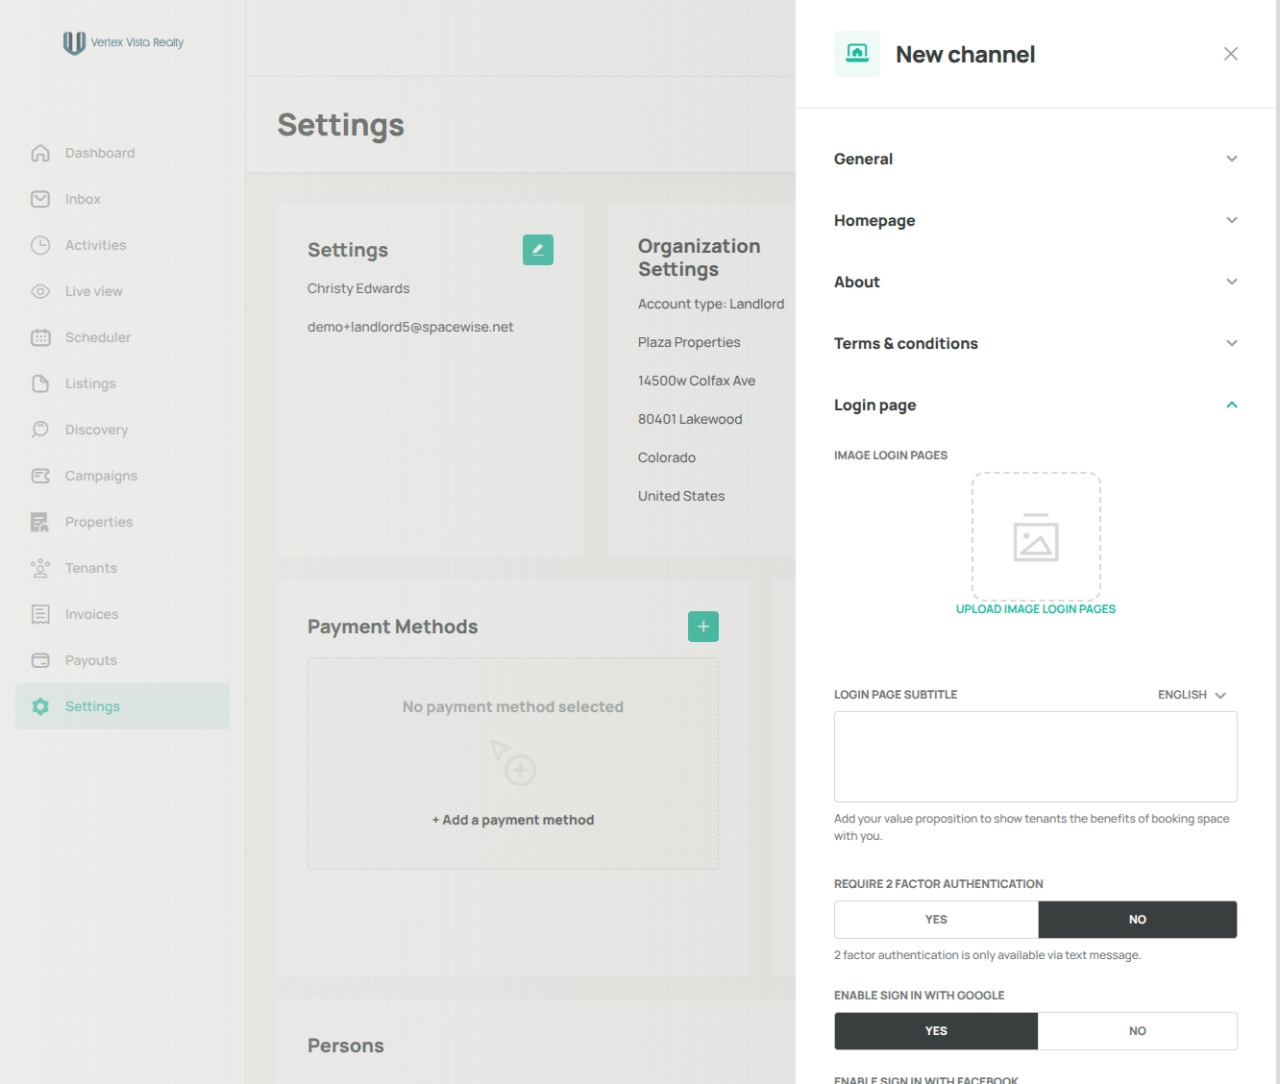
11. The Login Page is often the first branded touchpoint tenants see.
Personalize the experience with custom imagery, messaging, and configure authentication options to create a secure and professional first impression.
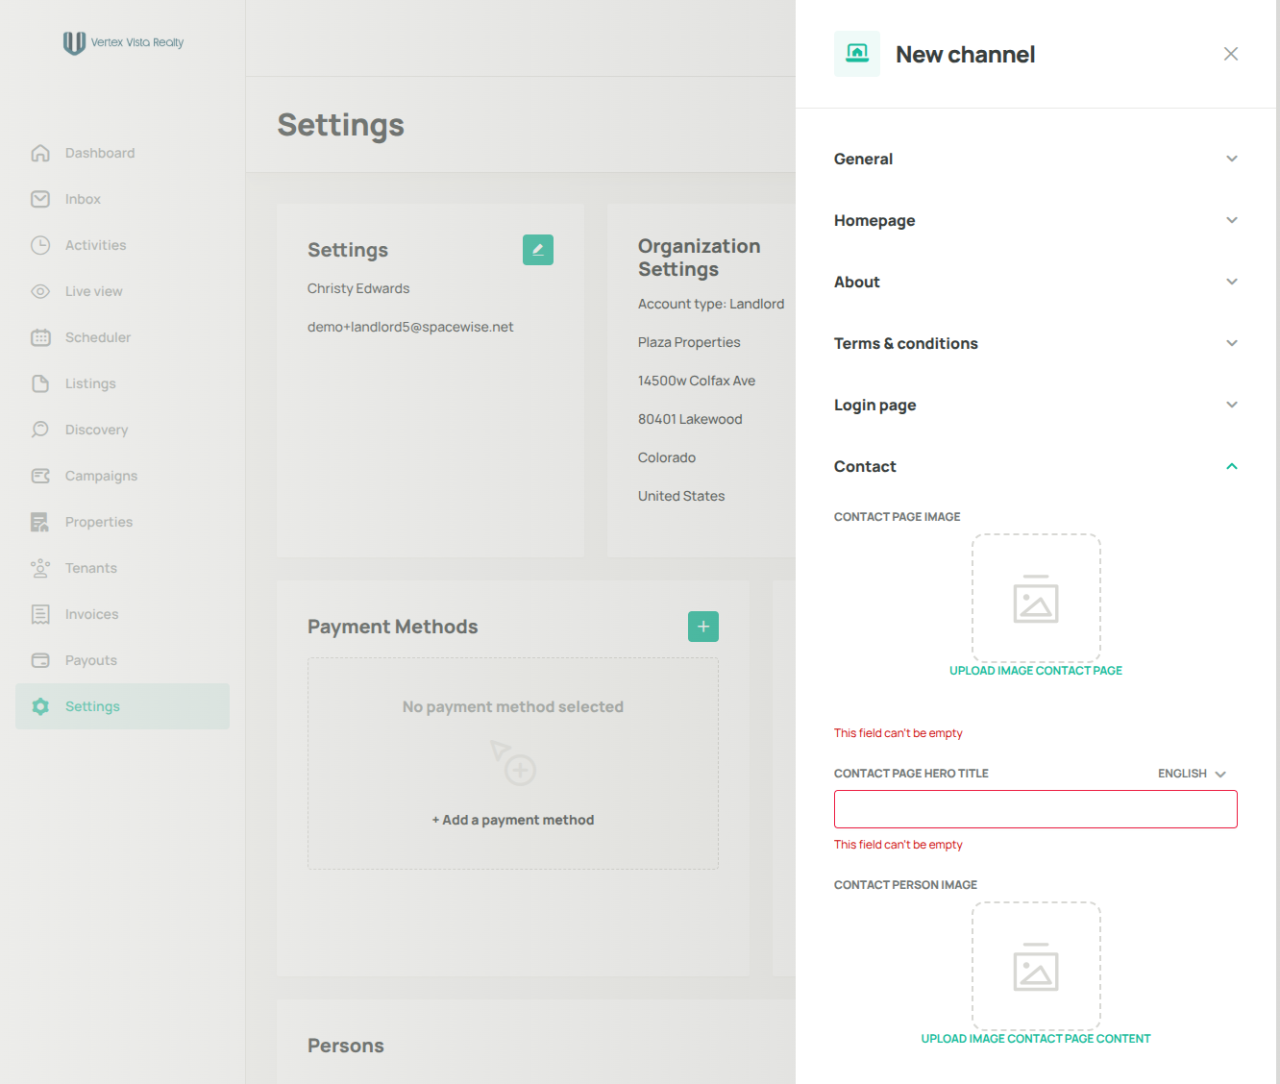
12. Use the Contact section to help prospective tenants reach the right person or team.
13. Use the How To section to help tenants find answers before they need to ask.
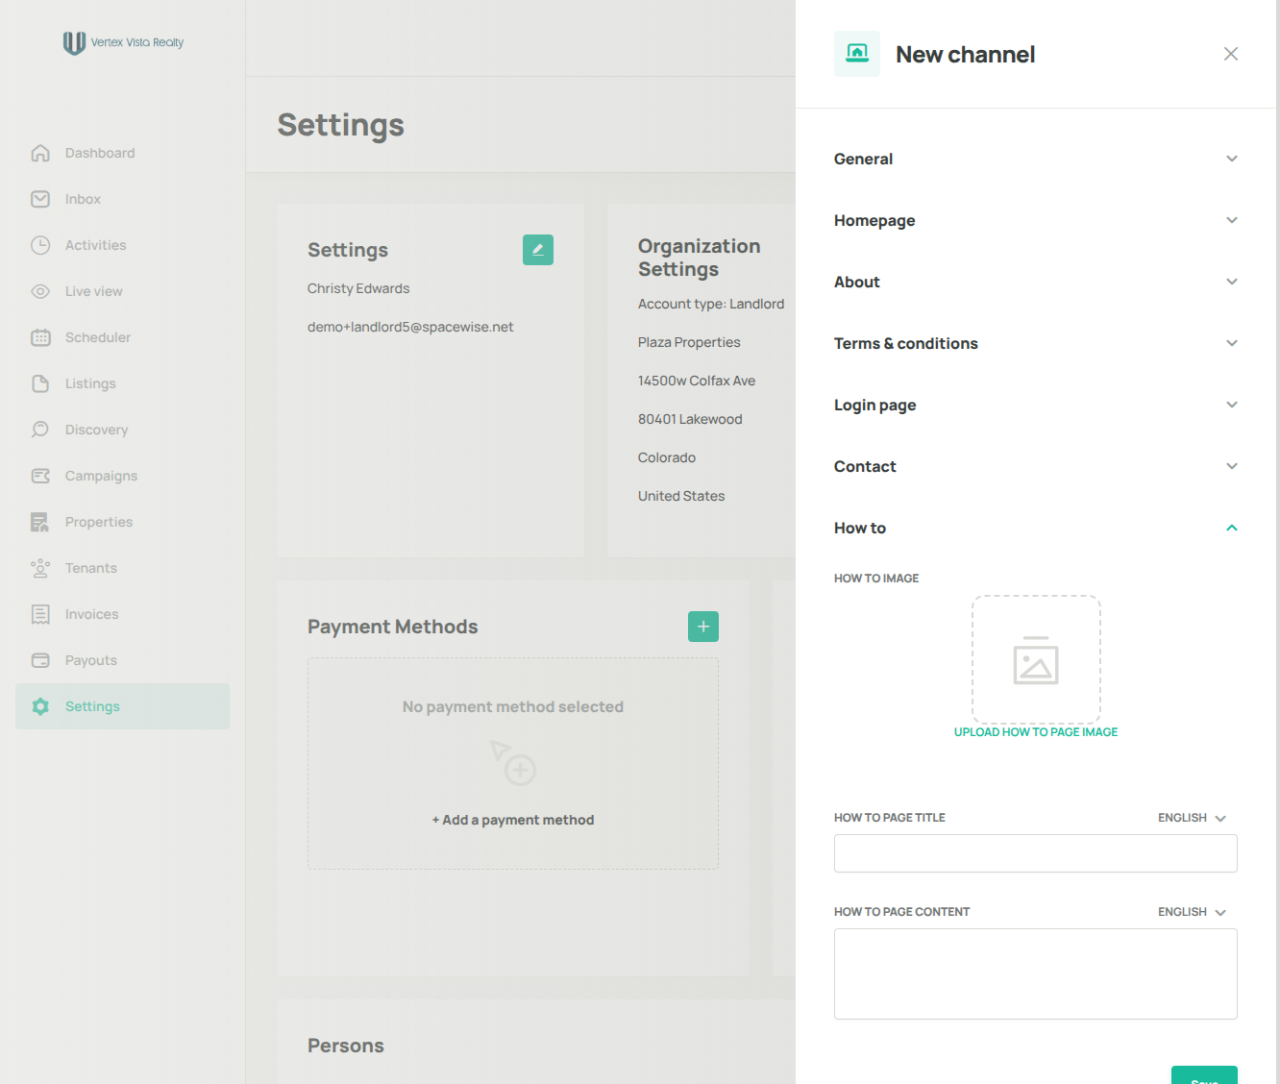
14. Click Save to finalize your new channel
15. Channel Setup Complete
A well-configured channel helps tenants discover your properties, engage with your brand, and find the information they need in one place.
Was this article helpful?
That’s Great!
Thank you for your feedback
Sorry! We couldn't be helpful
Thank you for your feedback
Feedback sent
We appreciate your effort and will try to fix the article