To create a listing, first make sure you have the necessary information and good images of your space. Please note that for quality assurance, we review and approve every submitted listing. Incomplete or fictitious listings will be rejected.
Find more information about image requirements.
Find more information about the information requirements.
Go to the listing wizard.
Create listings by going to the listings tab on the Spacewise platform and selecting "Add a listing". This will take you to the listing wizard, where you can create your listing. From the listing wizard, you will need to fill in each respective section.

Listing wizard sections:
1. Space
- Add the Listing Title and Headline
- Add Description
This section sells your space; make sure to include key information, and consider how you want the text to sound to the reader.
- Select the space type
- Allowed uses: Choose which projects would best suit the space
- Fill in the retail and storage space sizes
- Floor
- Choose the relevant options for space features
- Choose the relevant options for the inside space
- Choose the relevant options for outside space
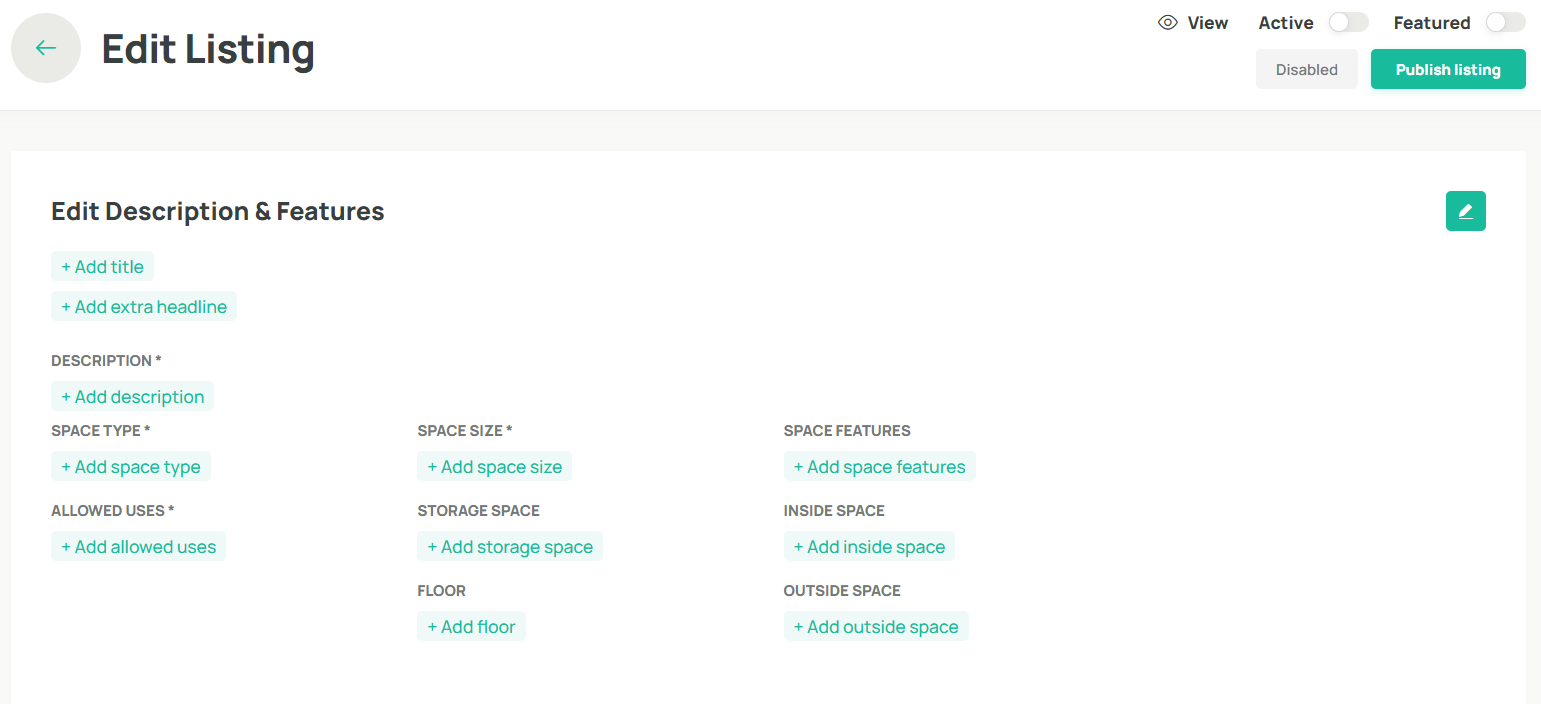
Find more advice about writing descriptions.
2. Photos and Plans
Photos are a crucial part of your listing. Images should showcase the space and highlight its best features. Include interior and exterior images, as well as any floor plans.
- Listings should have at least 3 images
- Images should be in JPG or PNG format.
- Have a minimum size of 1200x900.
- Be no bigger than 5MB
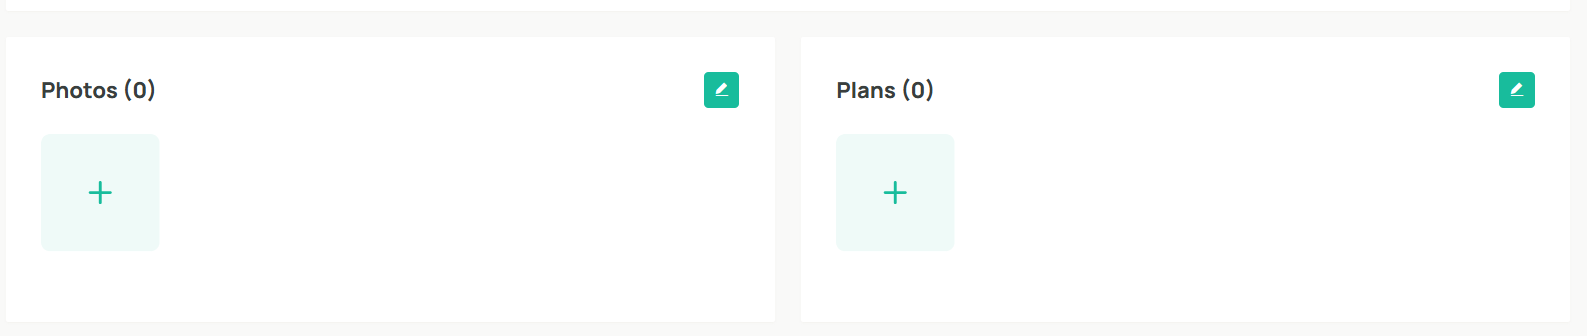
Find more advice about listing images.
3. Price
- Set the price per day
- Set the price per week
- Set the price per month
- Set a security deposit
- Select if the listing should always be available or be restricted
- Set the minimal rental duration
- Set the maximum rental duration
- Set the lease start time
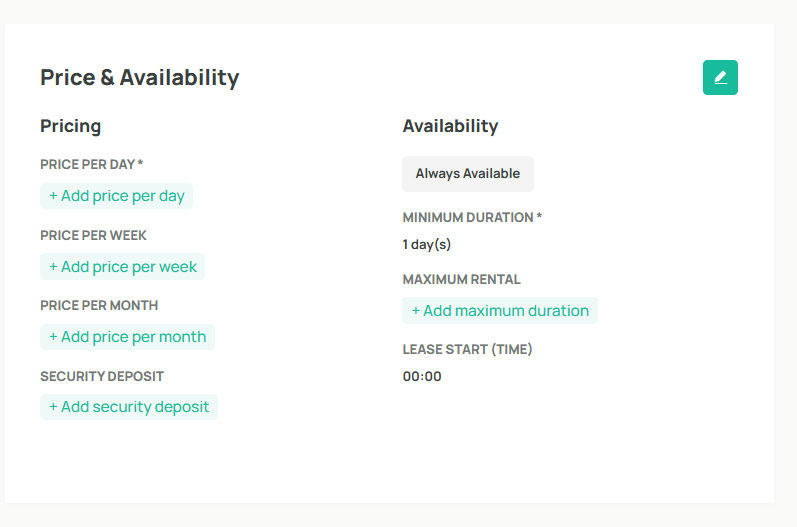
Security deposits are not collected online and should be handled between the brand and the property manager.
4. Terms and additional information
- Add terms like house rules, guidelines, opening hours etc.
- Set the cancellation policy
- Upload additional documents (PDF format)
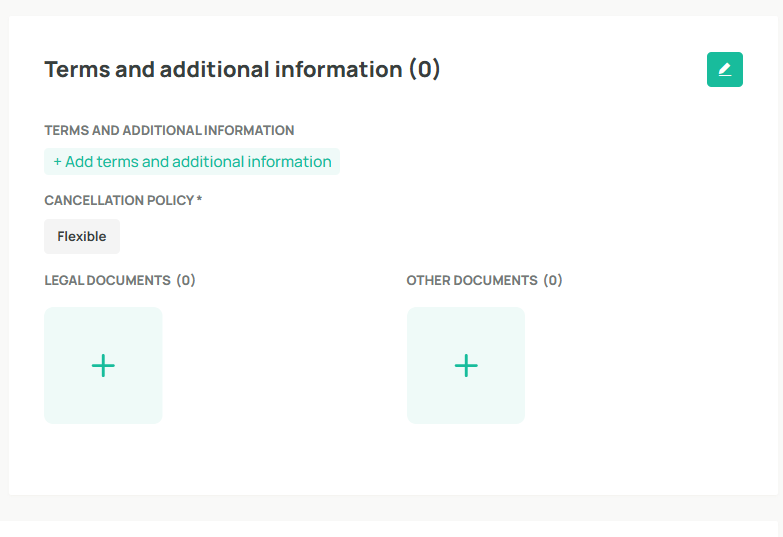
Any conditions defined in this section are accepted by the tenant when they make a booking.
Find more information about cancellation policies.
Find more information about refunds.
5. Visibility & Conversion
- Add listing Visibility - Private or Public
- Channels - Marketplace ,Whitelabel or Both
- Viewing information - details on how viewing can take place and every when
- Choose Binding or Non binding bookings
- Qualification level for tenants
- Enable or Disable instant bookings
- Welcome message

5. Location
Add your address, postal code, city , country
5. Settings
1. Specify if this belongs to you as a landlord or under a different organization
2. Add which team this listing belongs to
3. Select Bank account
4. Add Payout comment
5. Enable or Disable show of Documents and Floor plan
Find detailed information about leasing workflows.
Video walkthrough on how to create a listing
Was this article helpful?
That’s Great!
Thank you for your feedback
Sorry! We couldn't be helpful
Thank you for your feedback
Feedback sent
We appreciate your effort and will try to fix the article